Follow this tutorial along to find out how to create SharePoint folders with custom permissions. This is useful for when you’re creating reports and need to restrict access to them.
We use this method for area managers ensuring they can only access the area reports they should have access to.
SharePoint Groups
To manage security, you’ll need a basic understanding of SharePoint groups. Usually, you’ll also need to be a site owner. As standard, folders will be accessible by anyone who can view the SharePoint site as access will be inherited from the main SharePoint site.
Built In Standard SharePoint Groups
- Site Owners
- Site Members
- Site Visitors

Breaking Inheritance
Breaking inheritance is where we tell SharePoint who should have access to a folder in our document library. If a user doesn’t have access, this folder will not be visible to the end user. The rest of this tutorial assumes you want to only give access to site owners.
On the folder from the main document library click the ellipses (3 dots …) and select “Manage Access”.
Now click the ellipses on the manage access pop-up and select “Advanced Settings”
The page will show the standard access with Owners, Members and Visitors.
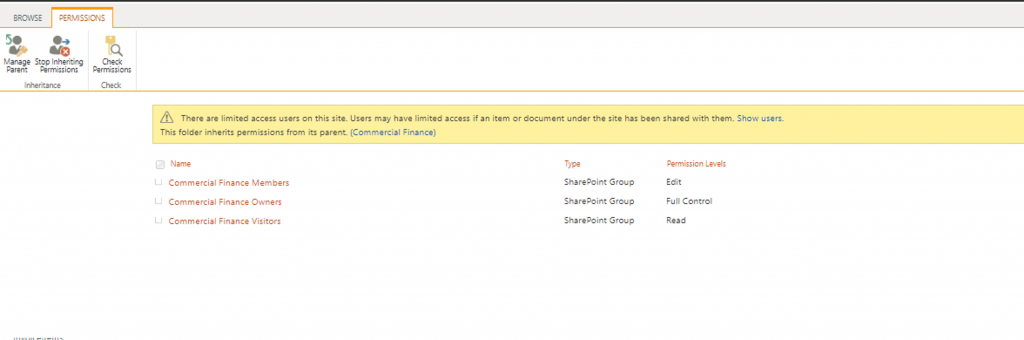
In this example, we want only site owners to have access, meaning anyone in the owners group will have access to the folder and any contents. Users in other groups will not be able to view or access these files.
Firstly, click “Stop Inheriting Permissions”. Click ok to the popup warning you that this folder will now have unique permissions.
You will notice the table is now editable. To remove access to members and visitors now select them both by clicking the checkboxes. Now click the “Remove User Permissions” in the top menu bar.
Check Your Work!
If using this within Finance, it’s likely you’re restricting access due to having sensitive documents stored within. If this is the case, you’ll want to check your restrictions.
By using a user you know is a member rather than an owner, we can now check the restriction has worked as planned.
In SharePoint select the folder you’ve restricted, click the ellipses (…) and select manage access. Click the ellipses and select Advanced Options. The permissions page should now re-open. On the top menu bar, click “Check Permissions”.
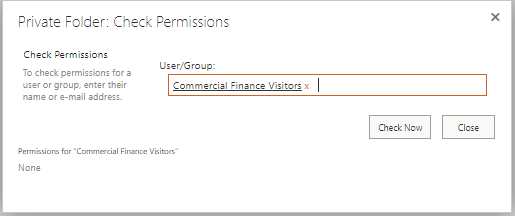
You can enter the user or group you’d like to review in the user/group text box. Click “Check Now”
Underneath to the left, it will show the given permissions. In this example, visitors have no permissions so will not be able to view the folder or documents within.
Leave a Reply